User Management
Overview
- User Creation
- User Activation
- Login
- Exports
User creation
Note: CXO, Admin only can do the user creation.
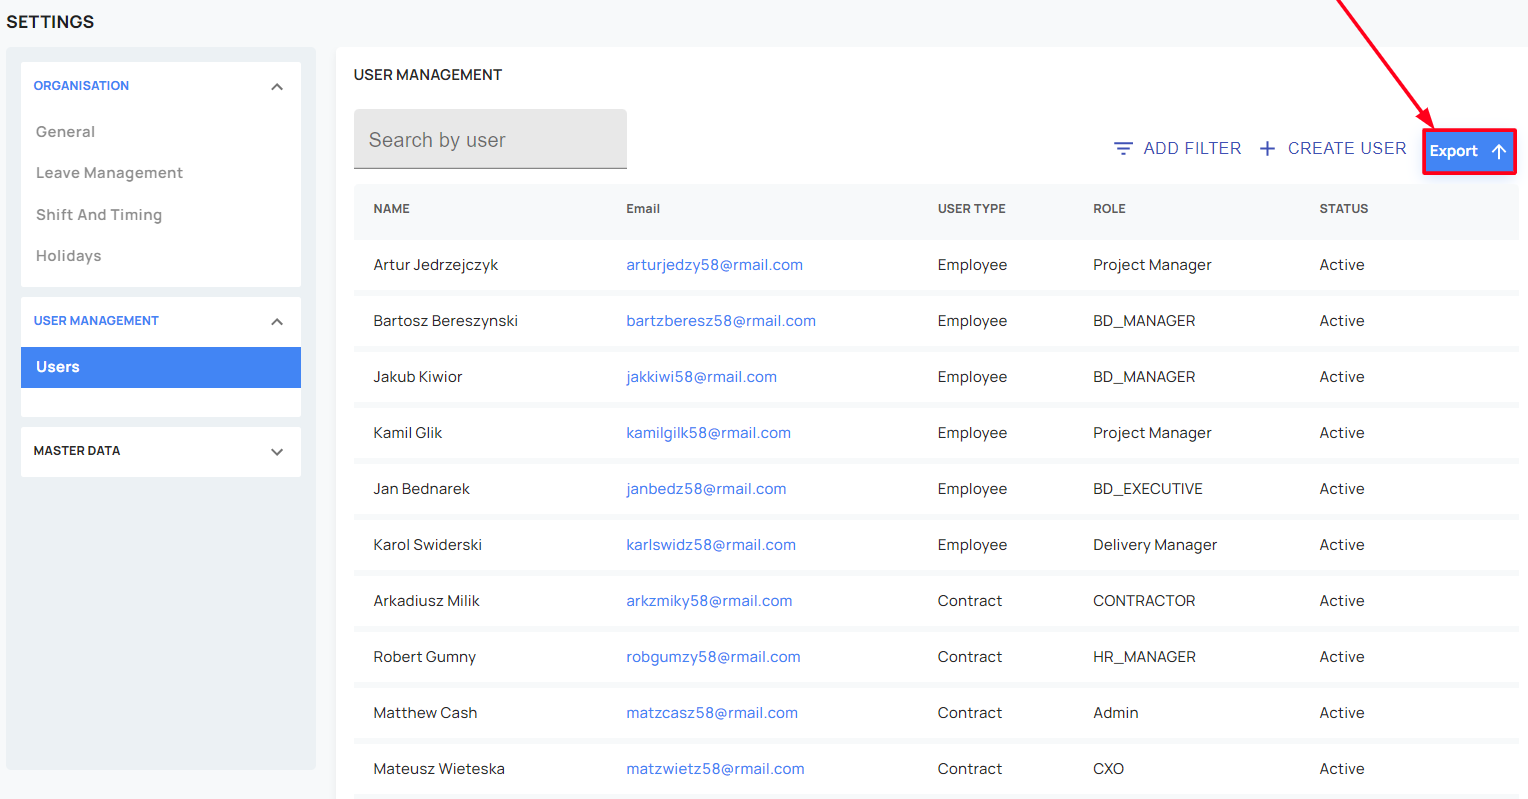
Step1: Navigate to Settings > User management > Create user
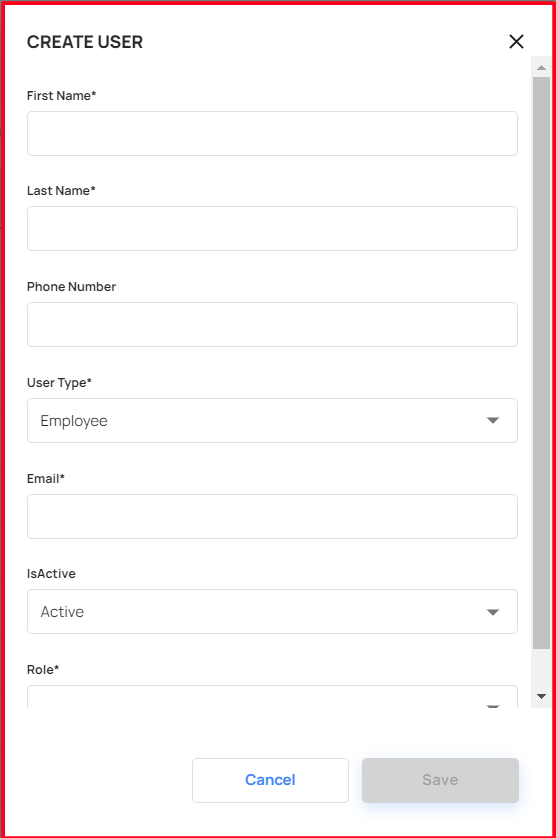
Step2: Give the mandatory fields,
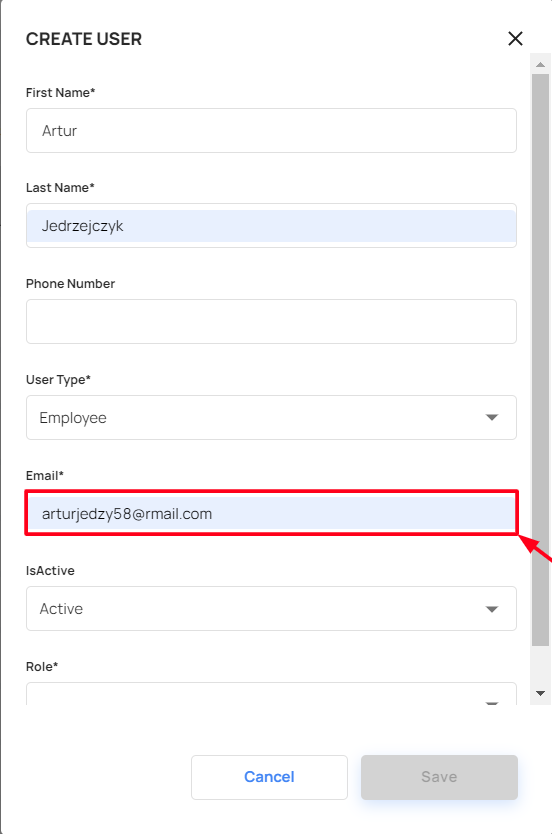
For email input, we have to give the corresponding organisation domain mail.
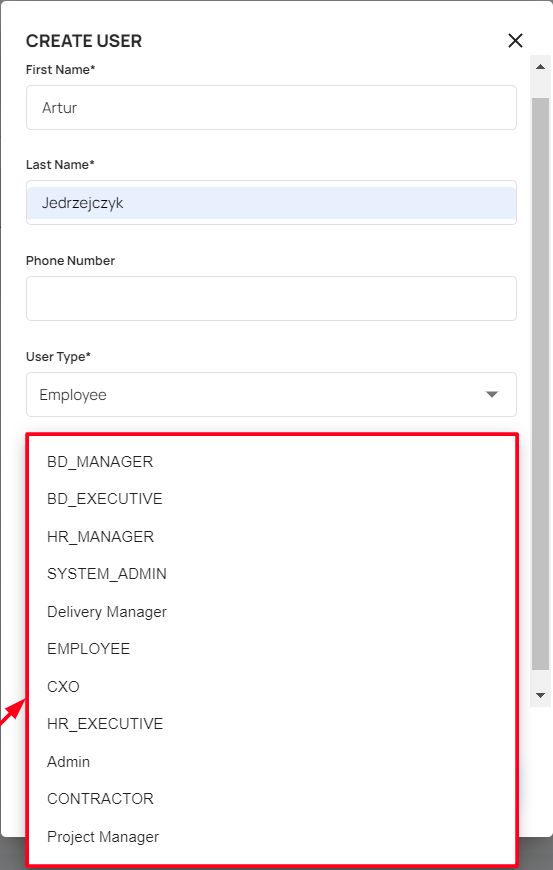
Select the corresponding role. The basic access level for the employee is “Employee” and for the contractor is ”Contractor”
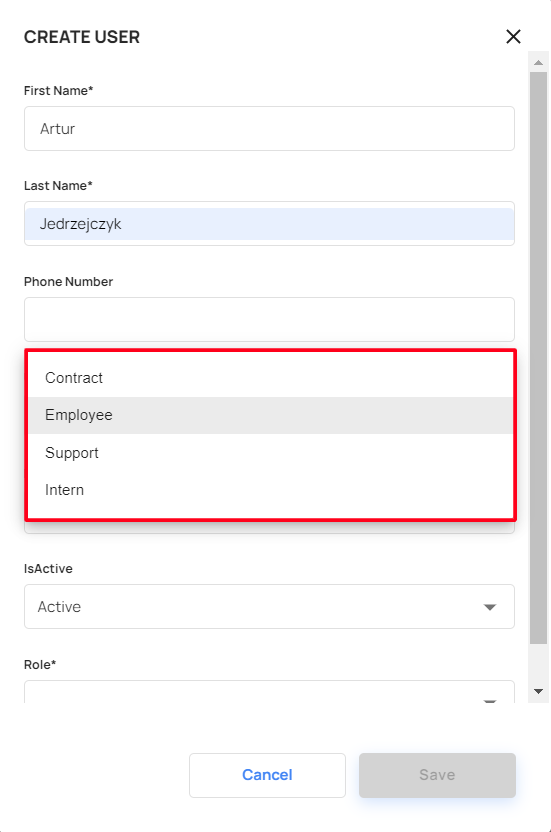
For User type, We have contract and employee. If you choose employee then the user considers an employee and managed under the employee section, Similarly, contractors also will list under the contractor section.
We have one status field in the form
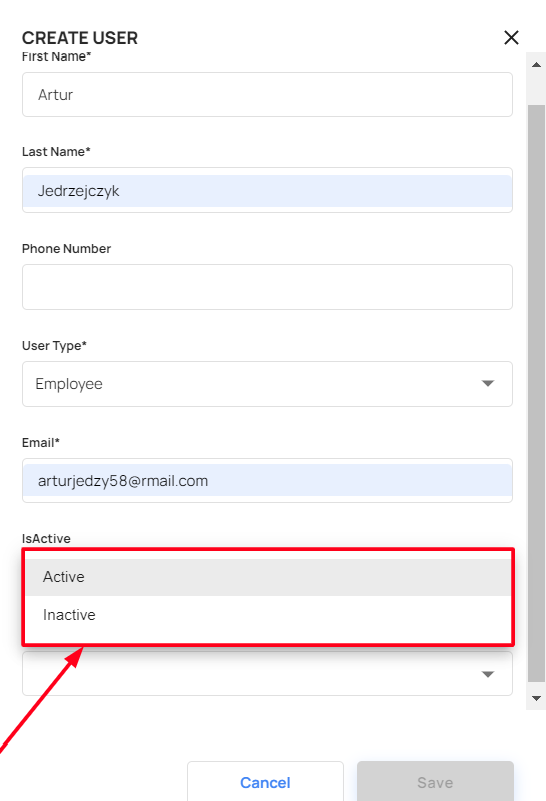
Note: If the user makes this Inactive, then that particular user can’t log in to the application.
User Activation / Deactivation
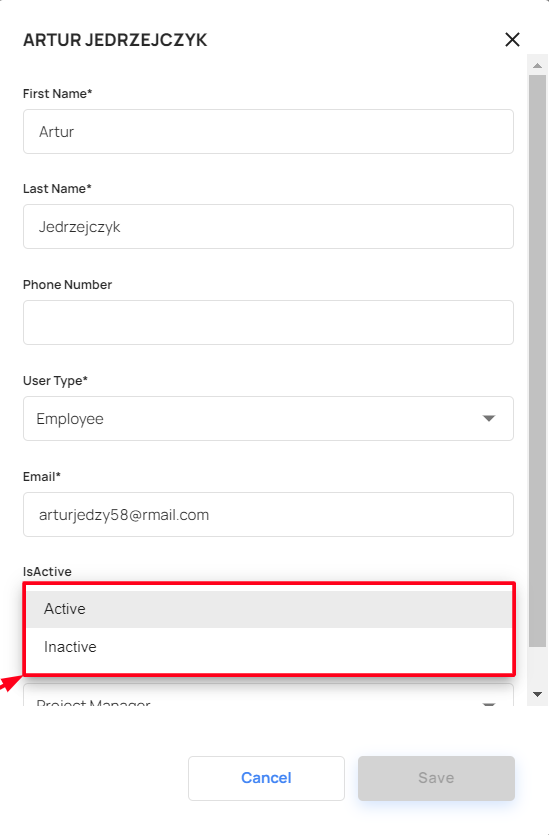
If the user wants to remove the application access for the particular user. The user has to change that user status to Inactive.
When the user hovers over the user row then there is an icon for edit. By using that we can see the edit popup.
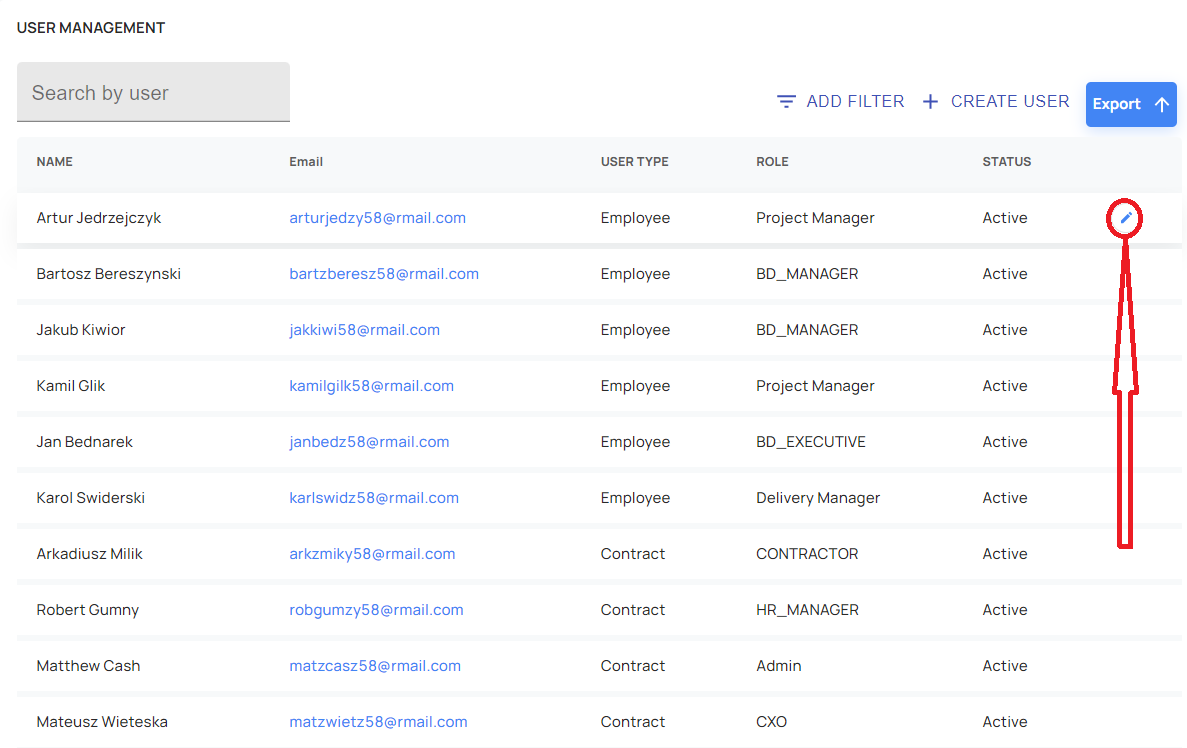
- Then make that user inactive, After that user can’t log in.
Once the user is created, Navigate to employee/ consultant and search for the user
If the user is an employee, then we can see under the employee's menu,
- Initially, an employee doesn’t have status value. So you have to select the “All” option from the drop-down and search with the user name the user can find that employee.
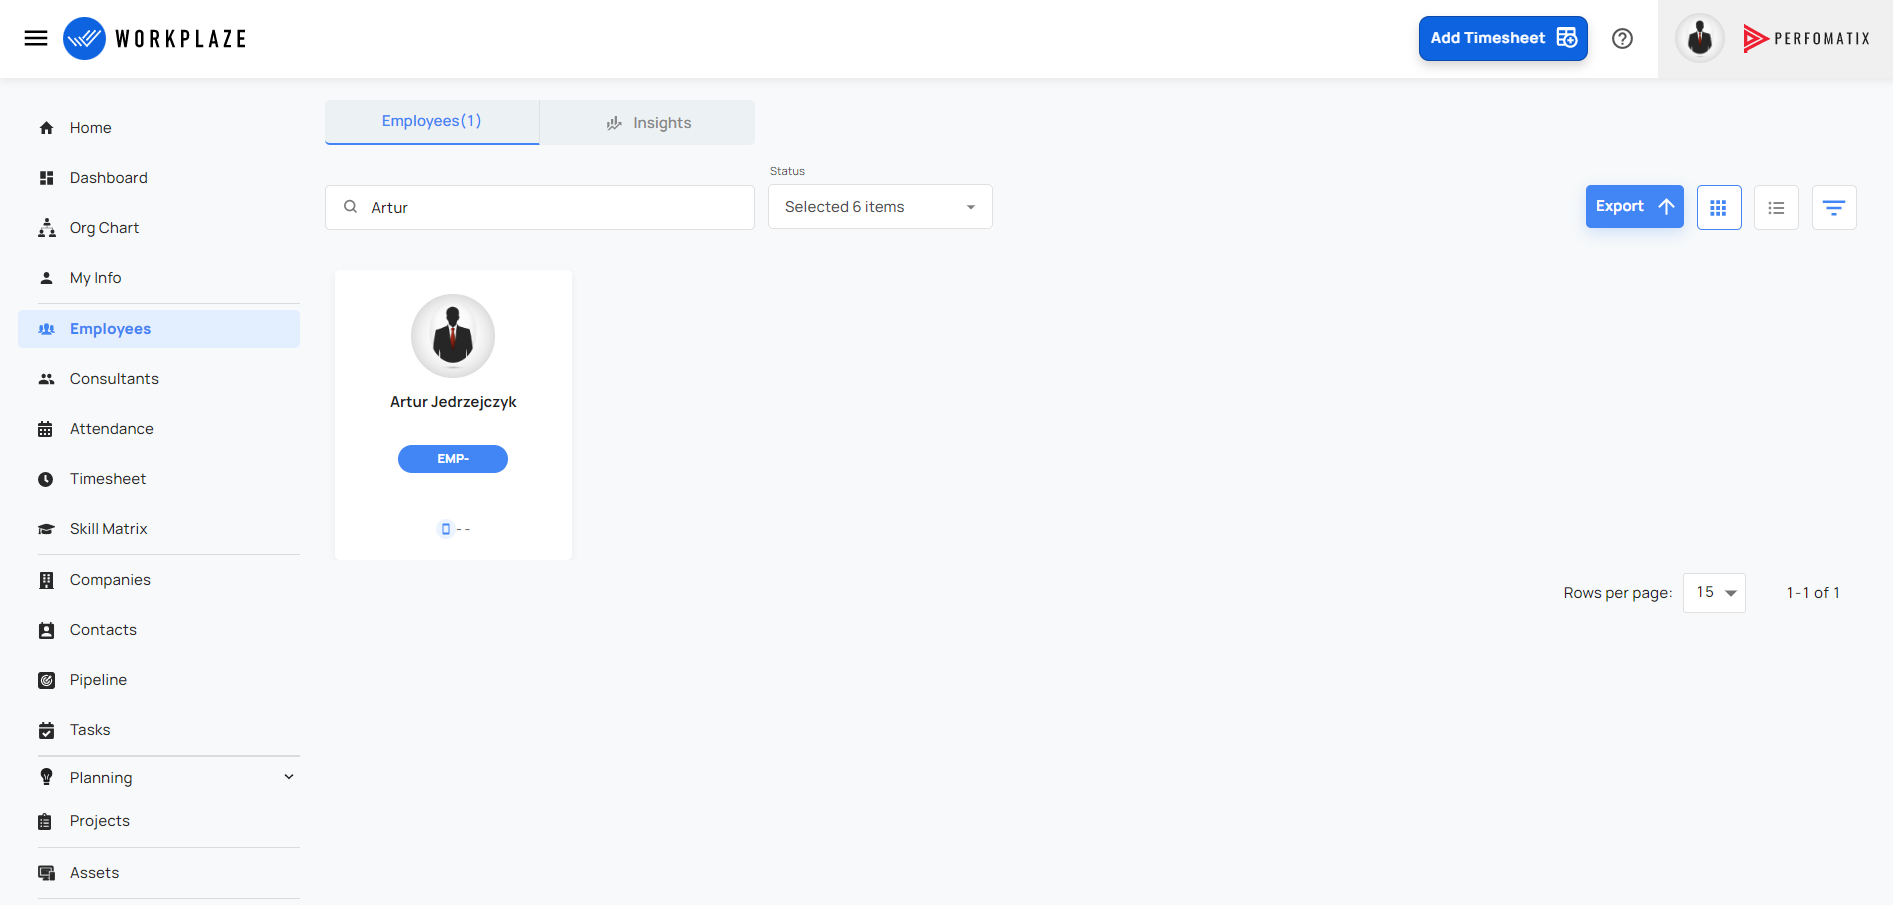
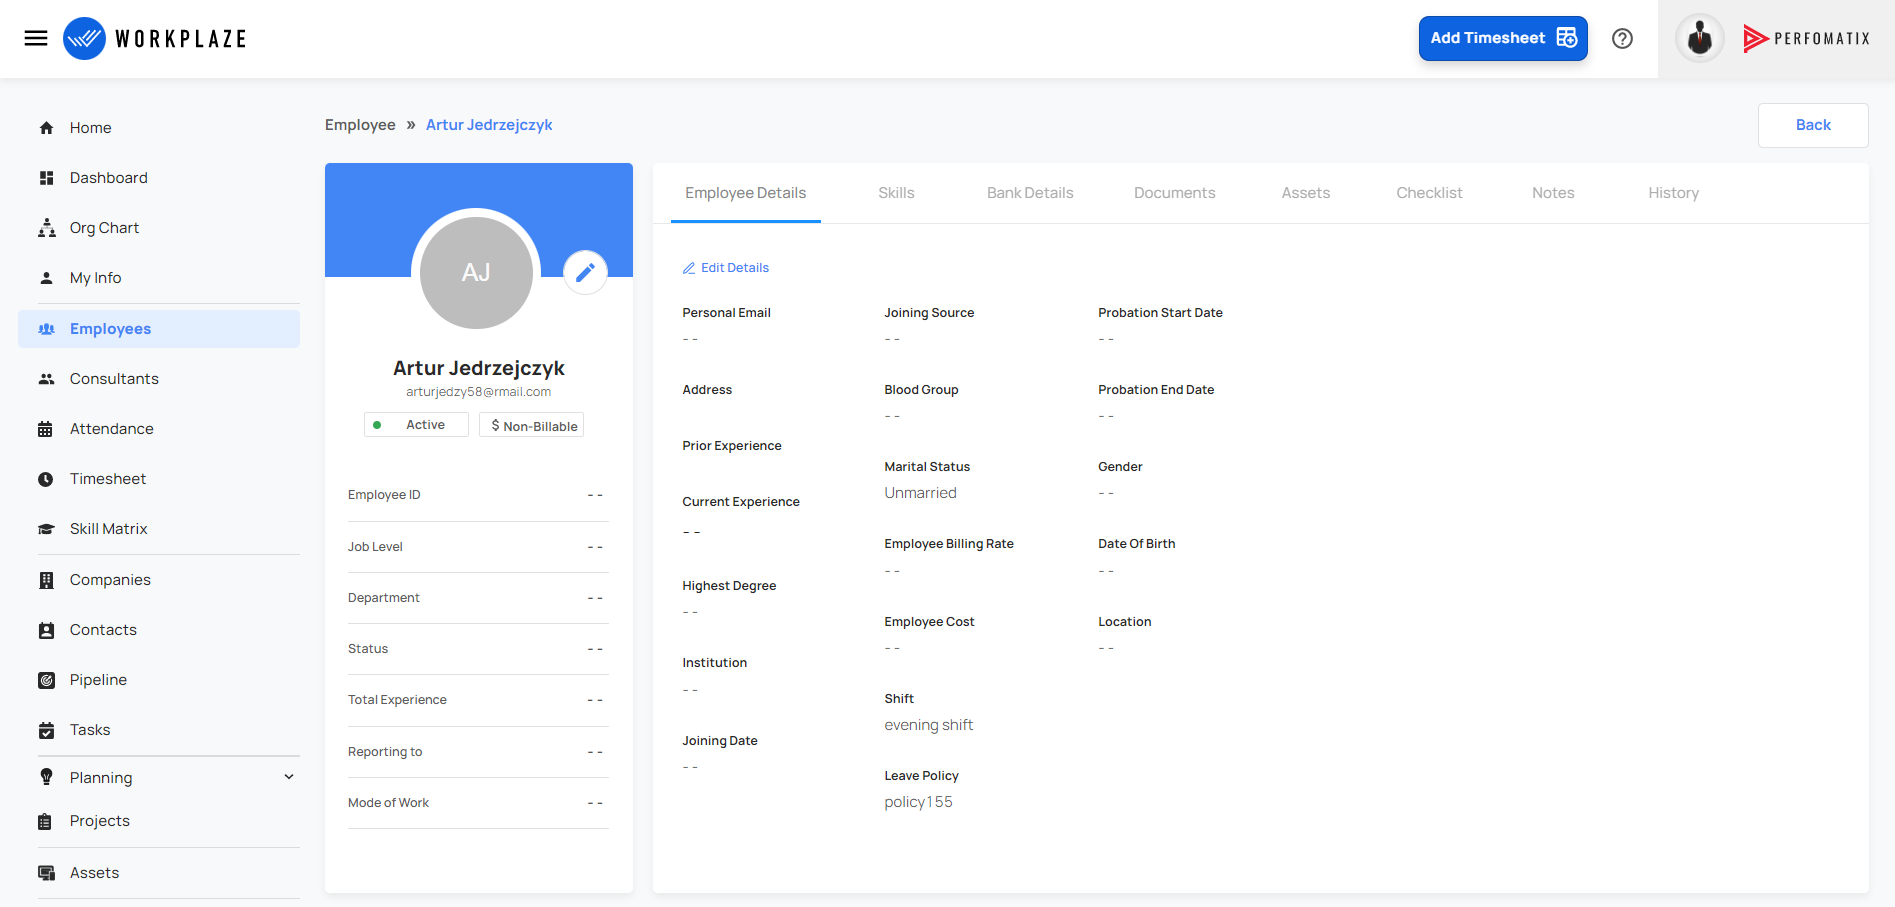
- If the user clicks the employee card then the user can see the employee details, For the initial case only a few details will be there.
Login
- The user can log in using our application URL. It will redirect to Login Page.
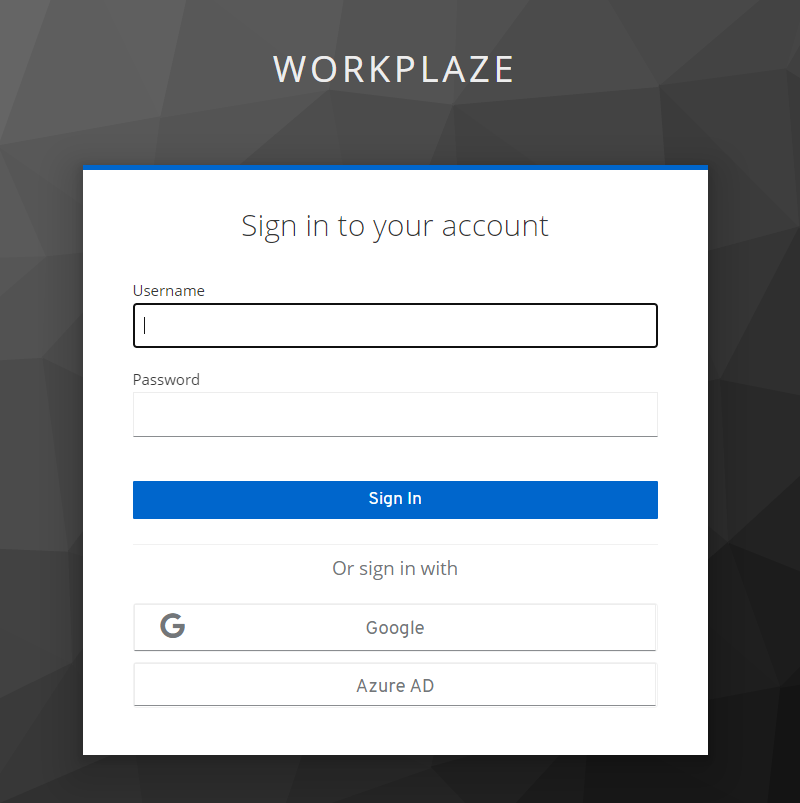
- Able to log in with single sign-on on either Google or Azure AD
Export
The user can export the all users details like user name, user type, role, email, contact, and status
By clicking the export option, we can download the export report